Throw a Seed Progression Checklist
A practical day-one to midgame checklist for Fish Time Studios’ Throw a Seed.
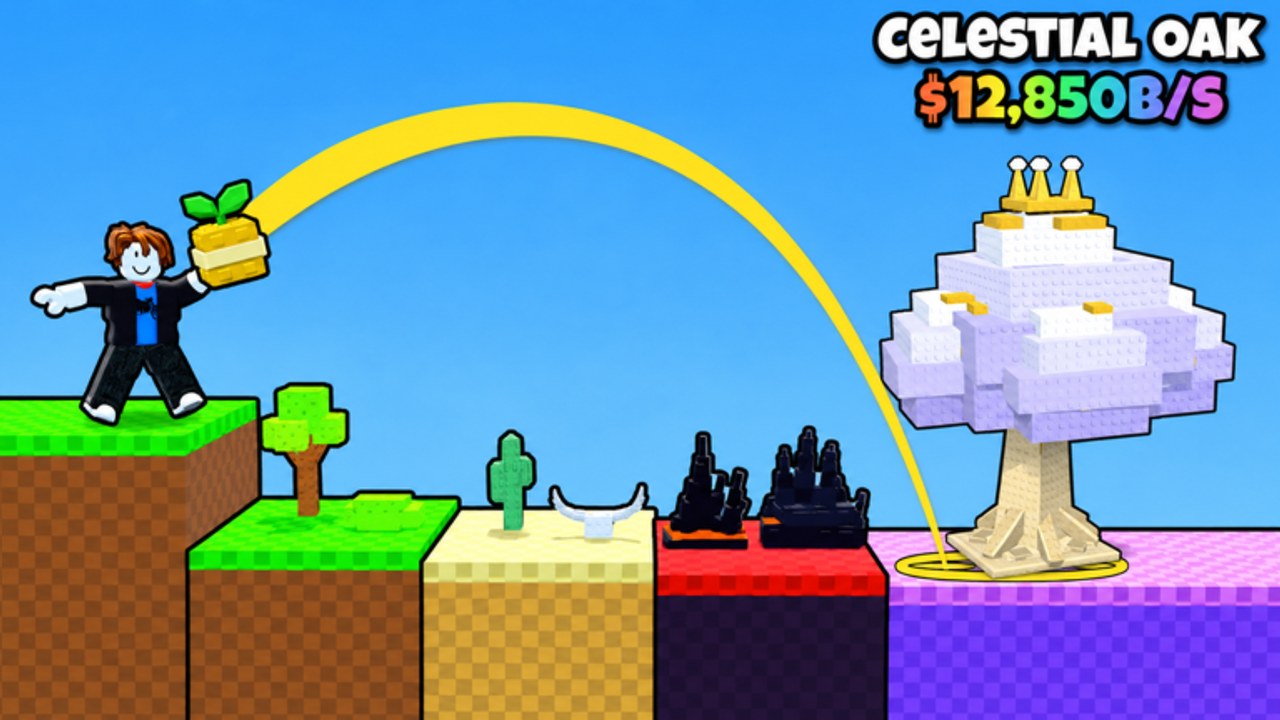
This Progression Checklist turns Throw a Seed’s systems into ordered tasks. Work top to bottom. Skip a line only when it truly does not apply (for example, Seed Packs before Update 1 goes live). Pair each section with the linked guide so you understand why the box matters—not just that a YouTuber shouted it.
Game reminder: timed throws convert canyon distance into luck across 15 zones (Meadow → Starlight Glade), plants fund offline garden cash, pull-ups raise strength, bars climb Wood → Diamond, and 75+ plants span Common→Secret rarities. Update 1 adds worlds, two rarities, four Secrets, and Seed Packs.
Return to the Tools Hub for future planners, or the Wiki Hub for the full primer.
Phase 0 — Account and community setup
- Launch place 129081220403721 and finish the onboarding prompts without rushing past the throw tutorial.
- Join the Fish Time Studios Roblox group for shouts (Players).
- Bookmark Codes and learn the redeem UI even if no code is live yet.
- Skim Getting Started once so vocabulary (zones, garden, bar) sticks.
Phase 1 — First hour fundamentals
- Land at least one plant and place it in the garden (empty slots earn nothing).
- Fill every starter garden slot with your best available plants—even Commons (Garden Income).
- Practice timed releases until you can reproduce a “good” throw on purpose (How to Throw).
- Do a short pull-up session; note that strength exists to extend distance (Training Strength).
- Buy the cheapest meaningful seed upgrade only after throws feel consistent—not before (Seeds Tier List).
- Sell or replace plants that are clearly weaker than a new landing (Plants Tier List).
Phase 2 — Early economy loop
- Establish a rhythm: train → throw set → garden cleanup → shop decision.
- Upgrade the throw bar when the next tier clearly improves control or power (Wood upward on the Wood→Diamond track).
- Expand garden capacity before hoarding unplaced high rarities.
- Track which zones you actually reach; stop blaming RNG if throws never leave early Meadow-range luck (Zones and Luck).
- Redeem any verified codes immediately and spend on the current bottleneck—not random cosmetics of progression (Codes).
- Avoid stacking multiple auto farm scripts; if you insist on automation, read Scripts ban risks first.
Phase 3 — Midgame strength and Index habits
- Push throws into mid canyon zones on purpose; celebrate process, not only Secret screenshots.
- Keep a written (or mental) list of your top three garden earners; protect mutated or oversized spikes (Mutations & Secrets).
- Replace sentimental Commons that still occupy premium slots.
- Alternate spend: one strength/bar spike, then one seed or capacity spike—avoid all-in shopping.
- Visit Tier List after each noticeable power jump and adjust priorities.
- Play in calmer 5-player lobbies when practicing timing; hop if lag from others’ tools ruins releases (Players).
Phase 4 — Update 1 readiness (Nov 13–20 2026)
- Read the full Update 1 guide before dumping savings.
- Clear garden clutter so new rarities and four Secrets have landing room.
- Hold a cash buffer for Seed Packs once your throws already reach meaningful zones.
- Sample new worlds after basic kit stability; note any unique gates or currencies.
- Re-tier plants and seeds the same day packs change your Index (Plants, Seeds).
- Recheck Updates and group shouts daily during the event window for hotfixes and codes.
Phase 5 — Sustainable loop (ongoing)
- Before logout, ensure the garden is filled with highest stable earners for offline cash.
- After login, claim rewards, skim codes, then pick one checklist phase to advance—not all phases.
- When stuck, diagnose: distance problem (train/throw), purchase problem (seeds/packs), or slot problem (garden).
- Share this checklist with friends instead of arguing in chat about “what to buy.”
- Revisit Guides when a mechanic feels fuzzy; do not invent superstitions about luck.
Quick diagnosis table
| Feeling | Likely bottleneck | Open next |
|---|---|---|
| Throws die early | Strength / bar / timing | Training Strength, How to Throw |
| Throws go far, plants meh | Seeds / packs / zones | Seeds Tier List, Zones and Luck |
| Plants OK, cash slow | Slots / weak keepers | Garden Income, Plants Tier List |
| Event FOMO | Update plan | Update 1, Codes |
| Want AFK wins without thinking | Risk vs reward | Scripts disclaimer vs manual checklist |
Session templates
20-minute session: 5 min pull-ups → 10 min focused throws → 5 min garden swaps.
60-minute session: Full train block → seed or pack decision → extended throw sets → Index notes → logout garden lock.
Update night session: Group shout check → codes → pack openings → world unlock attempt → re-tier garden → stop while ahead.
Related pages
Print this page mentally, clear three checkboxes, and only then open the shop. Progression in Throw a Seed favors deliberate loops over frantic clicking—and this checklist exists to keep you deliberate.
Frequently Asked Questions
Quick answers for Throw a Seed players.
Who is this progression checklist for?
New and midgame Throw a Seed players who want ordered tasks from first throws through Update 1 prep without relying on scripts.
Do I need to finish every checkbox?
Finish what matches your stage. Skip Update 1 pack lines until that content is live, but do not skip garden fills or timing practice.
What if I am stuck even with the checklist?
Use the diagnosis table: separate distance problems, purchase problems, and slot problems, then open the linked guide.
Can I use this with a friend group?
Yes. On 5-player servers, pick one shared phase per session so spending advice stays consistent.
Does the checklist replace tier lists?
No. It tells you when to decide; plant and seed tier lists tell you what to keep or buy.